One of the hardest things I have found teaching is getting students to plan ahead before acting. Once they write something, they want that to be the final draft and its perfect, right? Well, I found this article about using storyboarding to outline and visualize or convey a process. It goes through the history of storyboards and then how teachers and students can use them.
http://www.opencolleges.edu.au/informed/teacher-resources/using-storyboards-in-education/
I really liked that they stressed this is just the planning phase. You can illustrate what you are thinking and then maybe move some frames around or see what needs more detail. They even give some terms and tips that can help you connect this across other fields!
The authors also said that this can be used by teachers to help students visualize complex ideas, like life science or computer technology. I have found myself looking on YouTube for the perfect video to show my students and there's always something I wish I could change about it. There are many programs (also included in the article) that make storyboarding easier and I will definitely try this out next time!
Also, if you have some free time, explore that website! They have some cool infographics, articles, and even lesson plans!
Wednesday, March 25, 2015
Tuesday, March 24, 2015
Christy's Final Brochure
Hey everyone. I know I'm quite late posting this assignment; the last week has been crazy busy. Anyway, since late is better than never, I'll go ahead and post everything. Directly below are images of my rough rough draft--sketches that I took to the client and had approved before doing the full layout. These are really rough; I just wanted to plan the basic layout.

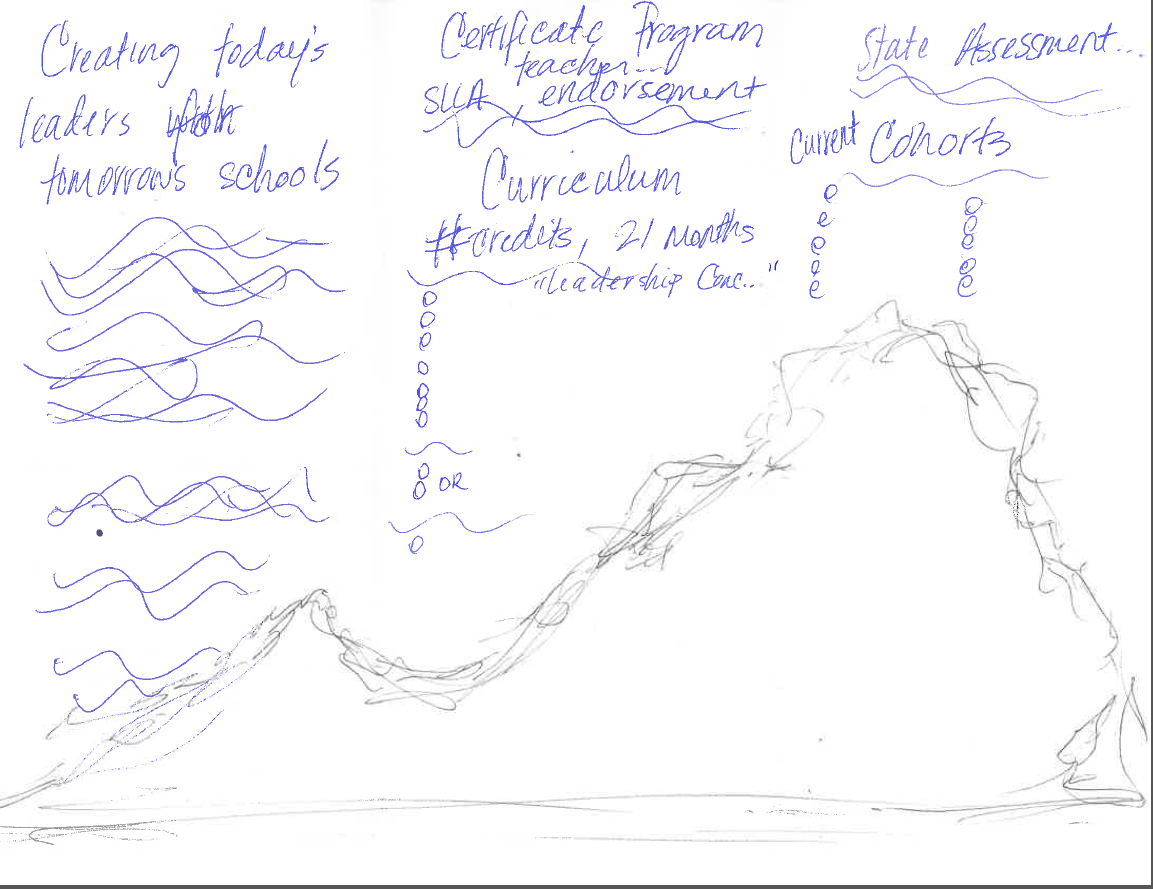
Below are the images of my final brochure. I also took pictures (rather poorly photographed) of the printed and folded version. Once I printed the document, I did some tweaking to make everything fit nicely so that the client could use the finished product immediately. I am pretty pleased with the final version.

 Printed and prepared!! By the way, the printer I used for this was low on ink, so the blue-ish colors are really the JMU purple when printed as it is designed!


 If anyone has any thoughts--before I have the copy center print some of these for the Ed. Leadership program--I would welcome feedback on the final version!
Below are the images of my final brochure. I also took pictures (rather poorly photographed) of the printed and folded version. Once I printed the document, I did some tweaking to make everything fit nicely so that the client could use the finished product immediately. I am pretty pleased with the final version.
Monday, March 23, 2015
Mariya's Final
Of course, I submitted my finals but I didn't end up posting it on here! Here is my final brochure. The first four pages go together, followed by the insert within the same brochure. The last two are the images that went with the foldable. I played with the colors, the images, and the fonts in order to make this piece more cohesive. Hope it worked!


The next two is an insert for the brochure that is shown above. It is different because the company wanted it to stand out and truly match their logo. It also was different because they wanted this "card" to represent the eco-friendly units that they are able to install.


These images are the foldable brochure (picture 1 is the front and picture 2 is the back).


Rob Morgan Final Brochure
I submitted this yesterday but forgot to update the blog post.
Here is my final brochure. I removed some of the text, centered the back logo and added some images to the cover.


Here is my final brochure. I removed some of the text, centered the back logo and added some images to the cover.
Sunday, March 22, 2015
Kara's Final Brochure
So, I finished my brochure with some definite improvements from the last. I took into account all of Leah's advice (THANKS LEAH!), and I also changed a few things that were bothering me. Again, I reworked my logo for this organization. Instead of using the colors I originally had (yellow & pinkish purple), I used JMU's official colors. I also used JMU's official colors for the brochure as well. I also thought that instead of using JMU's "James Madison University" name logo, I would use the "Be the Change" logo as I felt it aligned well with the purpose of this organization. The logo that I created was done through photoshop and google drawings. I also used the inside photo of Christy and I using google drawings and photoshop. I created the "Join the Conversation" image using Google Drawings. I felt that coming up with images was the hardest part about this assignment. I had some already, but they included clip art. I tried to create my own as best as possible. It was also hard because this organization is really not officially developed, and so no images of it exist.


OUTSIDE
INSIDE
Amanda Loeser's final brochure


Here is my final brochure. I tried to make it a lot more organized than my draft. I also added more pictures, descriptions and symbols. I got really lucky because the client that I chose already created many useful symbols for their site and as much as I wanted to create my own, I felt like mine were coming out wayyy worse than what they had so I decided to stick with it. I used four main colors, being navy, dark red, yellow and a light green because that's what they have on their website. I used a handful of my pictures, created two symbols, used the clients symbols, and their hill picture, and stuck with their logo of the animal on a bike and I made it into an organized format. Hope you all like it!
Erin final brochure


This was a tricky assignment
Amanda Leech's Brochure Final

Here is my final brochure. I took a lot of the feedback from Jennifer and incorporated it in to my final product. I could not get the color on the front to look right, so I ended up switching the photos around and thought it made a really nice cover. I also adjusted the text, and made a few minor changes to colors.
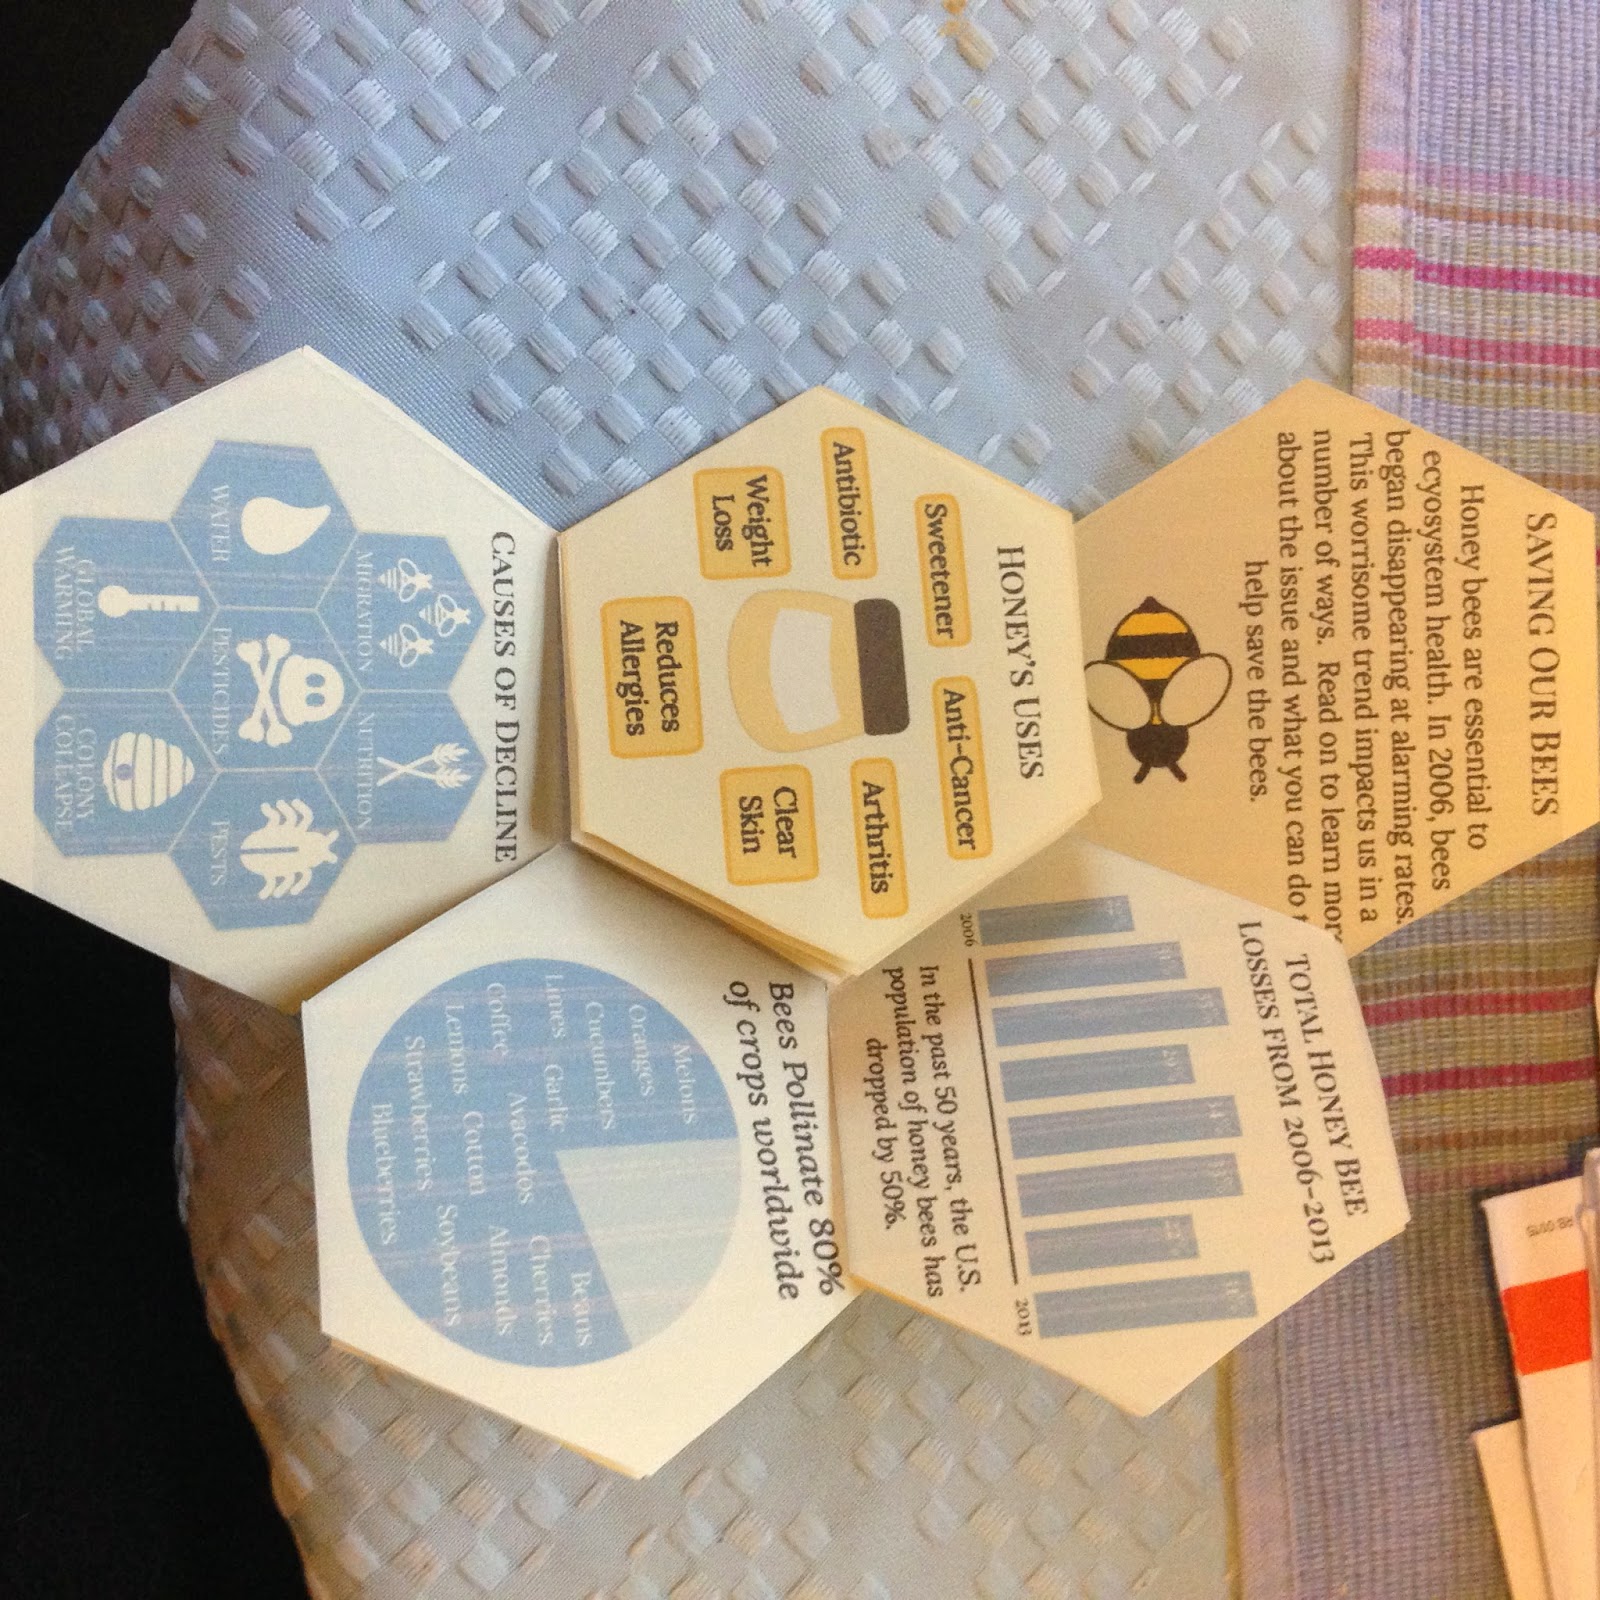
Jen's Final Brochure
The only things I changed were the layout of each of the polygons, so that the folding would work, and the additions of the honey images and references. I've included pictures of how I folded the brochure below so that the text unfolds logically. (I can't figure out how to rotate them?) Unfortunately, our printer doesn't print double-sided so the folding isn't perfectly aligned because it's bulky. We are also out of white computer paper. I had to print this on yellow, which makes the colors a little strange.


Jordan's Final Brochure

Added my content, a photo, and some thematic color! I also toned down the background graphics so they were a lot softer but still visible to [hopefully] understand the illustrations. I think this is a great placeholder for now, at least until I have more tangible content to fill this with, and it gives me a good visual idea of where I'd like this to head. I stuck with the big logo on the cover of the brochure so that when it's folded out it could also double as a poster!


Leisha's Final Brochure
I took Amanda's advice and tried to add more representational images. I also played around with the margins and pictures to try and create the right balance.


Lauren's Final Brochure
I took Erin's advice and made the title larger. This is what the cover would look like when closed. (I drew in the gray line to show where the two halves meet.)

.png)
.png)
Subscribe to:
Comments (Atom)